HOT PRODUCTS
Details
 Home
> NEWS
> Industry News > Details
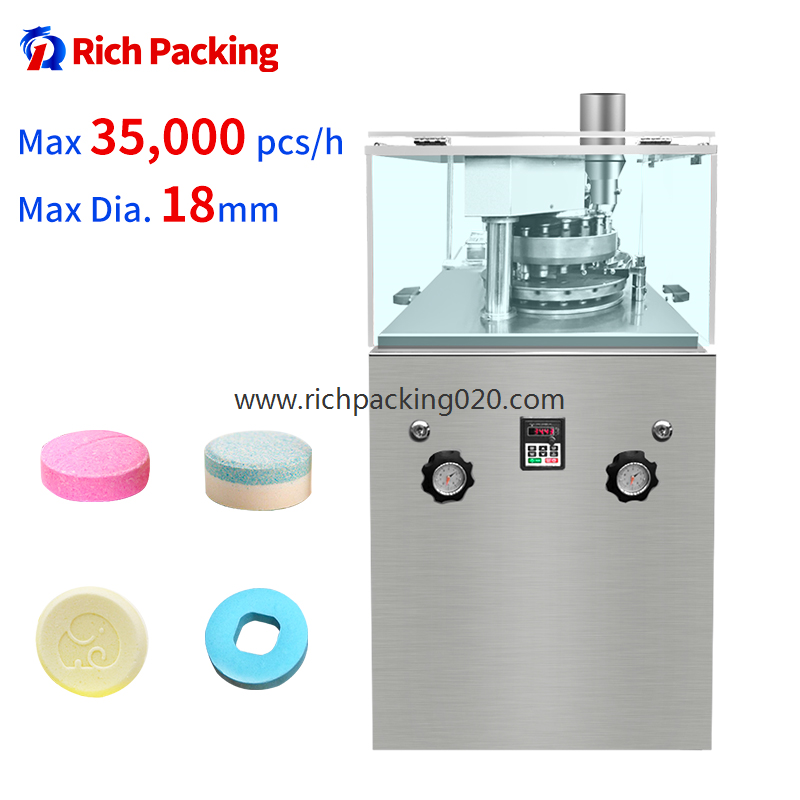
Disassembly and installation of auto tablet press machine
1. Disassembly of the middle mold plate: take out the powder baffle, take off the hopper, screw out the feeder fastening screw, screw down the feeder fixing stud and spring, take off the feeder, and screw down the fixing screw and spring washer of the middle mold plate, and then take down the middle mold plate. Installation: refer to the reverse sequence above. Pay attention to alignment when screwing on the feeder fastening screws. Avoid damaging the screw holes of the feeder.
2. Disassembly of upper core rod: loosen the connecting rod lock nut, turn the upper core rod to separate it from the connecting rod, turn the handwheel to raise the eccentric wheel housing to the highest position, rotate the eccentric coupling to make the connecting rod to the front and upper part, and then pull the upper core rod out of the hole of the mold base. Installation is carried out in the reverse order above.
3. Disassembly of lower core rod: screw down the down punching fixing screw, butterfly screw and gear pressing plate to turn the adjusting gear to lower the lower core rod and take it out from the bottom hole of the fuselage. Installation: refer to the reverse sequence above.
4. Connecting rod removal: first remove the upper core rod, then take off the steel wire retaining ring on the connecting rod pin, and take out the connecting rod pin, and then take off the connecting rod. Installation: connect to the reverse sequence above.
5. Disassembly of large pulley, pinion and bridge shaft: counter to the lower triangle belt, screw down the right end nut and washer of the bridge shaft (in the body), hold the large pulley firmly by hand and pull it out together with the pinion and the bridge shaft, and then pull the bridge shaft out of the wheel hole. (the big pulley is pressed into one with the pinion and the shaft sleeve, and it is not necessary to disassemble generally). Installation: refer to the reverse sequence above.
6. Spindle disassembly: two people should be used to remove the spindle. First remove the large pulley, then screw off the nut to take off the lever, lever shaft and filling roller. (remove the handwheel and filling cam if necessary) remove the protective cover, screw down the screw and washer, and tap the non working face inside the big gear with a wooden hammer (not significant). Remove it (note not to lose the lifting roller), then use a wooden hammer and copper rod to knock on the shaft end , hold the other end of the shaft and hold the eccentric wheel housing, and slowly remove the main shaft. Installation: refer to the reverse sequence above.


